Installing pavers is a challenging but rewarding project for the do-it-yourselfer. After all, any project you can hang out on after completing it is a winner in my book. Here’s how to conquer building a patio.
Materials:
Pavers
Wheelbarrow
Edging spade
Pointed shovel
Flat shovel
Rubber mallet
2-pound sledge
Cordless drill driver/impact driver
Screws
Tarps
½- to ¾-inch gravel
Stone dust
Push broom
Circular saw
2×2 stakes
Angle grinder or paver cutting saw (rental)
2×6 (for screed board)
Tamper (muscle-powered or rental)
Gloves
4-foot level
Spray paint
Tape
Line level or laser level
Chalk line
1. Determine the patio’s location. Most patios I’ve installed are centered on the back door of a house. I locate the door’s center and mark it on the foundation, then measure half the width of the patio to the left and the other half to the right, and mark the foundation.
2. Mark a level line between the two marks. This is the patio’s high point.
3. Dig a trench 2 feet wide and 8 inches deep straddling the outline of your patio, so that 1 foot is inside the border and 1 foot is outside the border.
4. Drive a stake 8 inches deep on the left and right foundation mark, keeping the stake as straight as possible. Do not drive it below the level line.
5. Install your border. I like 2×6 Western Red Cedar. It’s good for ground contact (pressure-treated 2-by isn’t rated for ground contact) and is easier to work with than plastic products. Cut the left and right borders to length (for example, 10 feet for a 10×10 patio) and confirm their placement is square using a 3-4-5 triangle. (You can also use a piece of plywood on smaller patios; if it fits square in each corner, you’re good.) Screw each side border to a stake with one screw, leaving a ½-inch gap between the boards and the house.
6. Drive a stake 1 foot beyond each outside corner. Tie a string from this stake to the stake that’s level with the foundation line. Use a line level or laser level to set it level.
7. A patio should pitch ¼ inch per foot to shed water. Establish this slope from the level string to the top of your left and right border pieces. Use gravel or dirt to get the borders the right height. Set this position by driving a stake within 8 inches of each far corner, and then screw the borders to the stakes.
8. Install the border farthest from the house. (Note: border = patio width + 3 inches, to accommodate the thickness of the left and right borders.) Screw this border into the side borders. Confirm the corners are square using a 3-4-5 triangle; adjust as needed.
9. Drive stakes every 6 feet on the outside of the borders, and then screw the borders to the stakes.
10. Backfill and tamp outside the perimeter of the border pieces. Don’t move the frame.
11. Excavate the interior of the patio about 8 inches. Note: You can remove the border farthest from the house to prevent running over it with the wheelbarrow.
12. Spread about 4 inches of ½- to ¾-inch gravel and tamp with a tamper or plate compactor, following the slope you’ve established. Make sure 3¾ inches of wood is showing above the top of your gravel base to accept the stone dust and the pavers.
13. Spread about 1½ inches of stone dust or mason sand and screed flat, tamp, and add as needed to get 2¼ inches below the top of the edging. Use a screed board made from a 2×6.
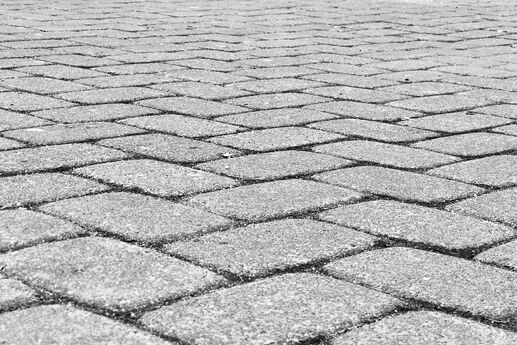
14. Install pavers, starting at the house and working your way out. Fill low spots in the stone dust by hand. Interlocking pavers set their own pattern, while rectangular pavers can be installed in different configurations, like a running bond or Flemish bond. (It’s a good idea to order an extra 10 percent — and possibly more, depending on the waste your pattern produces. Check with your supplier.)
15. Cut end pavers. A rubber mallet is helpful to nudge them into place.
16. Sweep stone dust into the patio surface. This locks the pavers together.
18. Replant grass on the outside and enjoy your new patio.