Stone patios are not only aesthetically pleasing, but they also add value to your property. Whether you’re using flagstone, natural stone pavers, or bricks, this guide will walk you through the process of creating your own patio.
The process might seem intimidating at first, but with patience and the right steps, you’ll be able to construct an outdoor oasis right in your backyard.
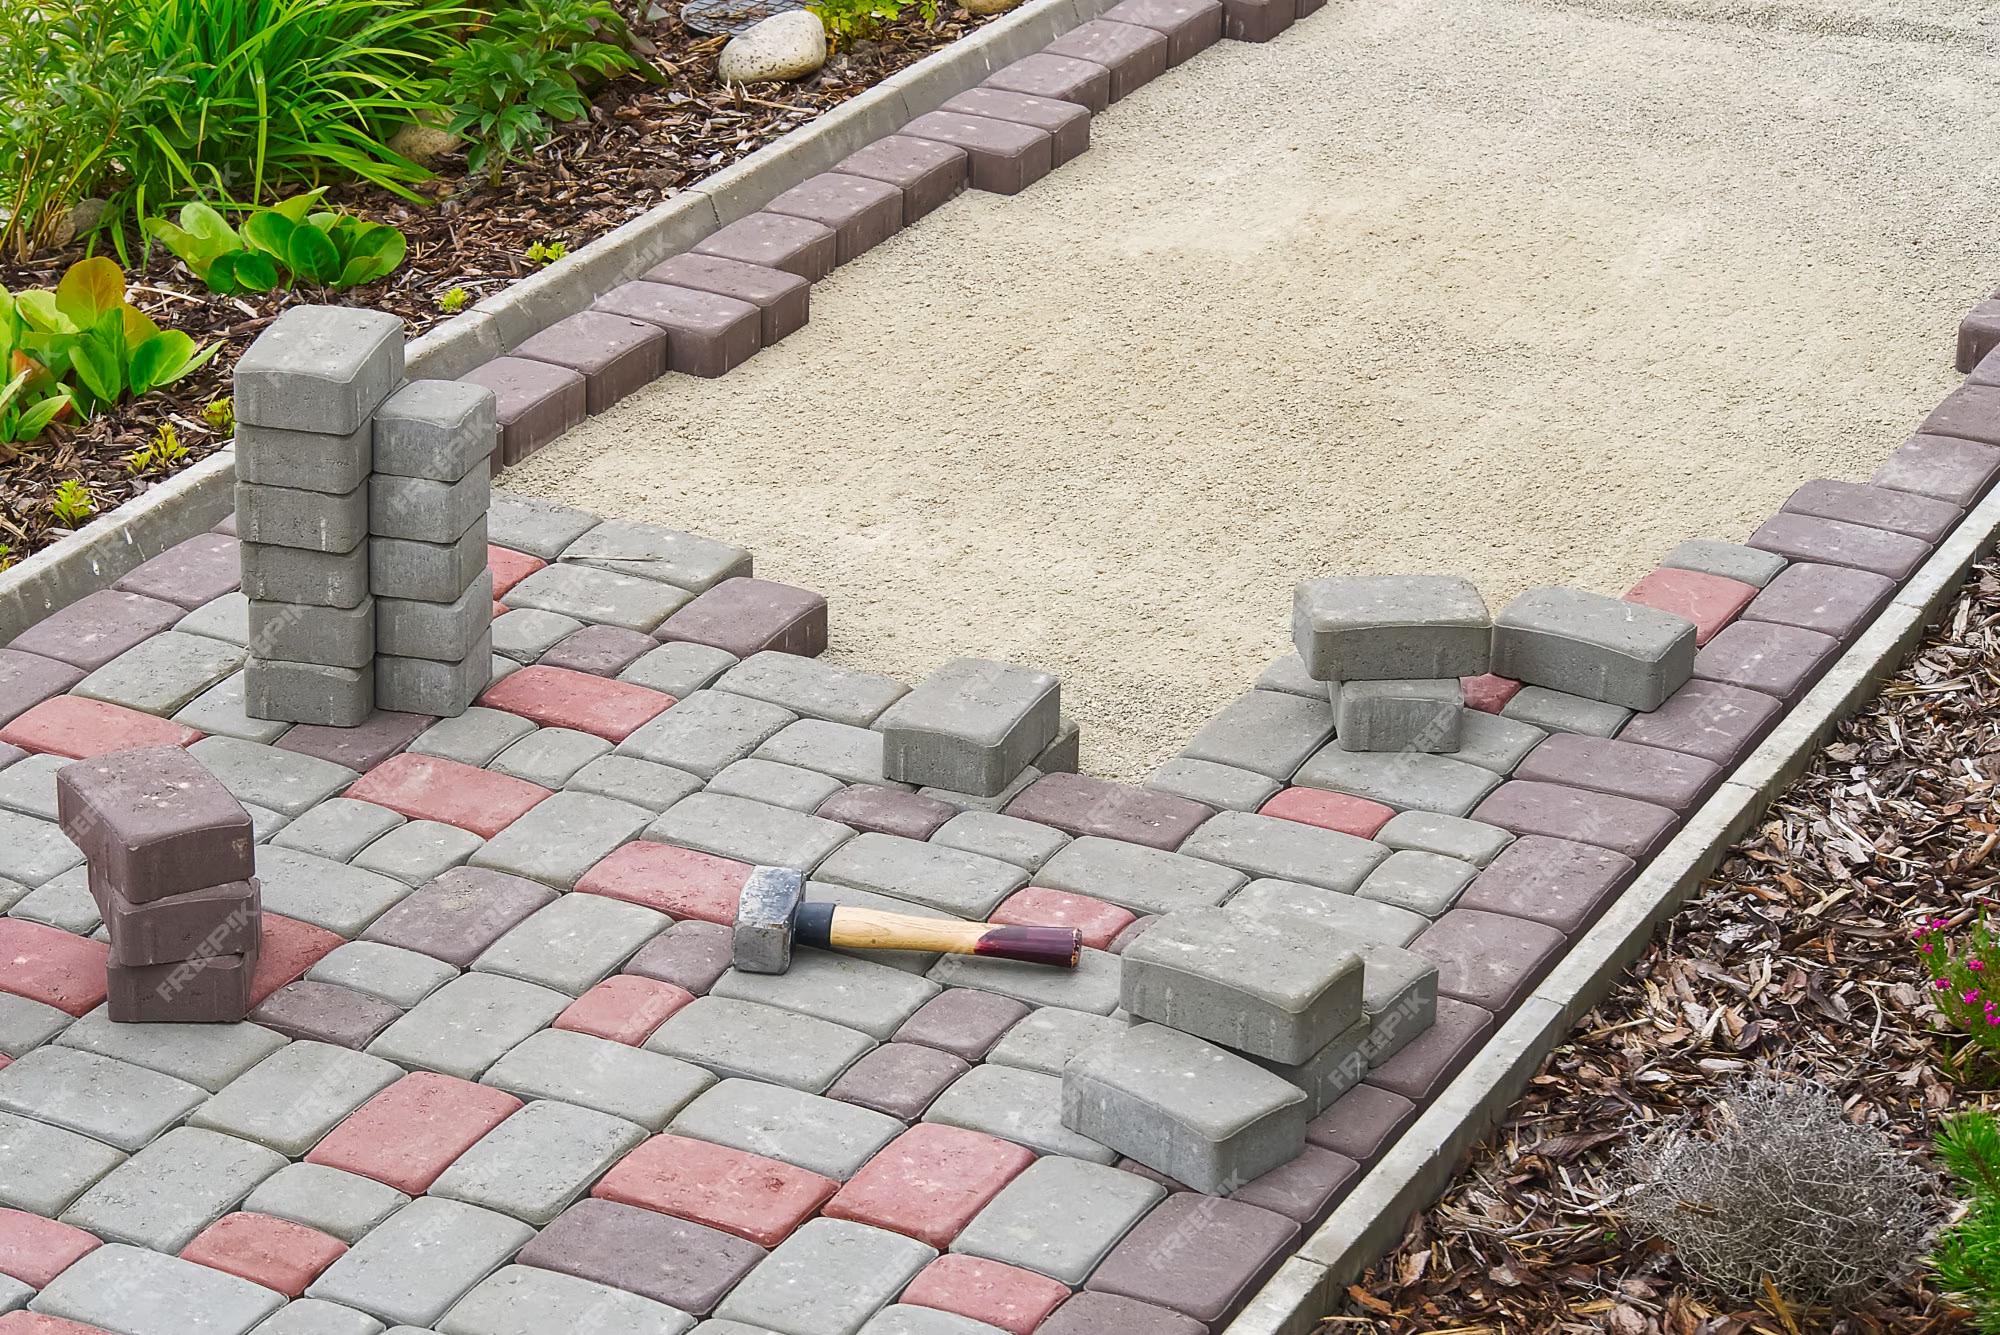
Image Source: FreeImages
Why Choose Stone for Your Patio?
Choosing the right material for your patio is crucial. Stone patios, in particular, have a timeless appeal that can enhance any outdoor space. They are durable, low maintenance, and available in a variety of styles and colors to match your home and landscape.
Types of Stone for Patios
Choosing the type of stone for your patio can be overwhelming due to the wide range of options available. Here are a few popular choices:
- Flagstone: These stones have a rustic, natural look that fits in well with almost any type of outdoor decor. They come in various colors, including grey, red, and buff tones.
- Granite: Known for its strength and durability, granite can withstand harsh weather conditions. It comes in a range of colors and finishes.
- Marble: Marble is an elegant and luxurious choice for a patio. It can be polished for a glossy finish or left in its natural, rough state.
- Slate: This stone has a unique layered look and comes in a variety of earthy colors.
- Bluestone: This is a dense, durable stone that comes in shades of blue and green.
- Travertine: This stone has a porous surface that provides a slip-resistant surface, making it an excellent choice for patios.
Planning Your Stone Patio
Before starting your DIY stone patio project, careful planning is essential. Sketch out a rough plan or use a digital design tool to visualize the finished product. Consider the shape and size of the area, the design of the stones, and the overall aesthetic you want to achieve.
Safety Precautions
When laying stone pavers, it’s important to keep safety in mind. Wear proper protective gear, such as gloves and safety glasses, to protect yourself from any sharp edges on the stones. Ensure the area where you’ll be laying the stones is clear of any debris or tripping hazards.
Tools and Materials Needed
Here are the tools and materials you’ll need to lay your stone:
- Shovel
- Garden rake
- Rubber mallet
- Hammer and chisel
- Mason’s line
- Level
- Work gloves
- Landscape fabric
- Paver base (gravel or limestone)
- Sand
- Stone pavers
- Jointing sand
- Broom
- Tamper or plate compactor
Preparing the Patio Area
The first step in building your stone patio is to prepare the area. Outline your patio area with a garden hose or stakes and mason’s line. Use a sharp garden spade shovel to remove the sod and soil at the patio location. The depth you’ll need to dig depends on the thickness of your stones and your desired patio height.
Laying the Patio Base
Next, line the excavated area with landscape fabric to prevent weed growth. Then, add a 6-inch layer of gravel or limestone paver base. Compact the base using a tamper or plate compactor, ensuring it’s smooth and level.
Applying Sand Bedding
Once the base is prepared, add a layer of sand on top. Use a rake to smooth and level the sand. Then, compact it using a tamper or plate compactor. The sand should be level and extend slightly beyond the edges of the pavers.
Laying the Stone Pavers
Start laying the stone pavers in the center of the area and work outward. Use a level to ensure that they are evenly spaced and aligned. You may need to cut some pavers to fit around corners or along irregular edges. Use a chisel and hammer or a wet saw to make precise cuts.
Filling in the Cracks
Once all the pavers are in place, use a broom to sweep sand into the joints between the pavers. Use a hand tamper or plate compactor to compact the sand firmly, and add more sand as needed to fill the joints completely.
Adding the Finishing Touches
After all the stones are laid, you can add the finishing touches. This can include adding a restraining edge to keep the stones in place, sealing your natural stone pavers to protect them from stains and damage, and landscaping around your new patio.
Cleaning and Maintaining Your Stone Patio
Cleaning your stone patio regularly will help maintain its beauty and prolong its lifespan. Sweep it regularly to remove debris, and wash it with a mild detergent and a soft brush to remove dirt and stains. If necessary, re-sand the joints between the pavers.
With this comprehensive guide, building your own stone patio can be a fun and rewarding DIY project. Whether you’re looking to create a space for entertaining, a quiet spot to relax, or simply want to increase your home’s value, a stone patio is a fantastic addition to any home.