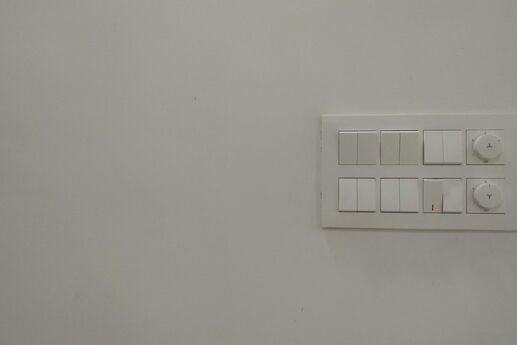
Installing a dimmer switch gives you the power to select from a wide range of lighting variations — whether it’s subtle mood lighting or bright task lighting. The best part is that a dimmer switch is quite inexpensive and installing it can be done in a matter of minutes.
A dimmer is designed to replace standard single pole and three-way switches in your home. This energy-saving device is ideal for use with light fixtures, switched outlets, sconce fixtures and cabinet lighting. Just about any room in your home could benefit from a dimmer switch.
Before beginning this project, you must first determine the number of wall switches that control the fixture or fixtures you want to connect to the dimmer. If a single switch controls a light or group of lights, you should purchase a single pole switch. If two switches control the same light or group of lights, you should purchase a three-way dimmer switch.
Things You’ll Need
- Slotted (flathead) screwdriver
- Phillips head screwdriver
- Electrician’s long-nosed pliers
- Voltage tester
- Wire nuts
- Dimmer switch and cover plate
Removing the Existing Switch
Step 1. Turn off the power at the circuit breaker box.
Step 2. Remove the cover plate on the existing switch using a slotted (flathead) screwdriver.
Step 3. Verify that the electricity is off by touching the bare ends of the wires connected to the side of the switch with the leads from a voltage tester.
Step 4. Remove the mounting screws securing the switch to the electrical box with either a Phillips head or slotted screwdriver and pull it out and away from the electrical box.
Step 5. Loosen the mounting screws that secure the wires to the side of the switch. Single pole switches will have two wires connected to the side of the housing and a single green or bare copper ground wire connected near the bottom of the switch.
Three-way switches will have three wires connected to the sides of the housing and a single green or bare copper ground wire connected near the bottom of the switch. It is important that you identify the common wire connected to the brass or copper screw on the side of a three-way switch with a piece of black electrical tape. Remove the wires from the switch while taking note of their locations.
Installing the New Dimmer Switch
Step 1. When necessary, strip the ends of each wire from both the switch and the electrical box to remove about ½-inch of insulation.
Step 2. Install a single pole dimmer switch by first connecting its ground wire to the green or bare copper wire in the electrical box. Connect its two remaining black wires to the black or black and red wires in the electrical box. Install a three-way dimmer switch by first connecting its ground wire to the green or bare copper wire in the electrical box.
Connect the common wire from the dimmer switch to the common wire in the electrical box you marked previously with black electrical tape. Connect the two remaining wires on the dimmer to the two remaining wires in the electrical box. Connect the wires by twisting each of them together with a pair of electrician’s pliers and securing with a wire nut.
Step 3. Position the switch back into the electrical box carefully and secure using two mounting screws. Install the cover plate. Be sure everything is secure, turn the power back on and test the switch. Now you’ve got the power to dim and brighten the light in the room.
Tip: Take a photo or draw a diagram of the wiring before disconnecting the old switch.
Warnings:Use extreme caution when working with electricity. If you are unsure or apprehensive, hire a licensed professional to install the switches.
Dimmer switches are not intended for use with fluorescent lighting.
Dimmer switches are not recommended for use with a ceiling fan.
