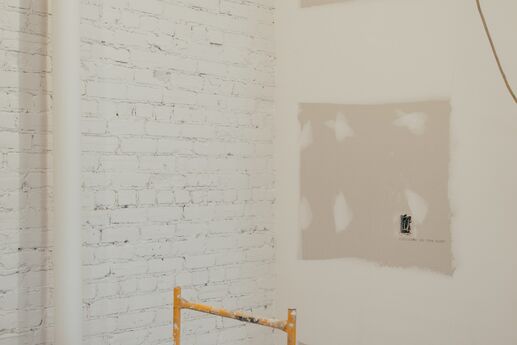
Finishing drywall should be easy, right? It’s just a few tools and some goop. Slather on, sand off. But anyone who’s ever been covered in joint compound knows that finishing drywall can be a fluid (and sticky) situation.
Some of the common pitfalls include:
· Using too much mud (also called drywall compound or spackle)
· Using too little mud
· Applying unevenly
· Getting mud everywhere but on the wall …
Never fear. Armed with a few tricks, you can tape, skim and sand with confidence.
Taping
The trick to taping is to “bed” the tape into the mud, not cover the tape with mud. Big distinction.
Using a 6-inch joint knife, apply a thin (approximately ⅛-inch), even coat of mud along the joint. Don’t bother trying for a very smooth application here; you’ll smooth it in the next round. Roll out a length of tape (I prefer paper tape) and stick it into the mud on one end with your finger. Press flat with the knife, squeezing the tape into the mud.
Get a little compound on the edge of the knife. Start pressing the tape into the compound along the seam. Keeping a little compound on the knife helps it glide easier. Press the tape evenly against the wallboard, squeezing all the mud out. It takes one or two passes for a pro to do it; more for a novice. When the tape is flat with no bubbles, you nailed it. Let dry.
Screws
To cover the screw heads, press the mud into the dimple and screed it flat with the knife blade. It seems like you should be able to cover the screws in one coat, but that’s never the case.
Second Coat
Use a 10-inch joint knife to apply the second coat of mud to the joints. The goal is not to completely mask the first coat, but to barely cover it. Here’s where thin — but even — coverage is the key.
When using a wider knife, “clip” the corners on your drywall pan. In other words, stick the knife in the pan about an inch deep and scoop out the mud. It’ll cover the entire blade. Before applying it to the wall, wipe each corner of the knife on the pan. You only need to knock an inch off on a diagonal. This trick minimizes how much goop squeezes out each side when you apply it and makes for neater work.
To get the outside edges as flat as I can, I like to flex the knife — putting pressure on the edges — to screed them. This minimizes sanding later. Go for “good,” not “perfect.”
Screws, second pass
Hit the screw heads again with the 6-inch knife. Let dry.
Third coat
Some recommend a light sanding before applying a third coat of mud to the joints. I consider it optional. One thing I always do is to run my 12-inch knife over everything. This knocks down most lumps and the (dare I say it?) “boogers” inevitably left behind.
Apply using the same mojo as the second coat. You’re going for flat, smooth and even. If in doubt, applying a fourth coat is much easier than sanding off three bad ones. Trust me. Let dry.
Sanding
Dust is unavoidable, even for pros. The key to minimizing dust — and the labor — is to use the minimal amount of compound, spreading evenly and smoothly at each step. When sanding, go easy or you risk sanding into the drywall’s paper covering or into the tape, which you’ll then need to re-cover. I recommend capturing the dust with a dust-free sanding apparatus.
